One of the most commonly used studio
lighting schemes is based around a three-light set-up:
- The key light is the main light
which determines the shadows and principal highlights.
Experimentation will show why it is generally best to have the key
light fairly close to the camera, rarely more than 45 degrees from
the camera/subject line, and above the subject's eye-line.
- The fill light is the secondary
light, which "fills" the shadows, making them less intense.
Typically, the fill is a broader, softer light than the key; if
the fill is too hard and directional, you run the risk of
conflicting shadows. Sometimes the fill light is substituted
by a reflector, which serves the same function by reflecting light
from the key light back onto the subject's shadow side.
- The
effects light is used to emphasize particular points in a
subject like creating highlights or backlighting hair, as well as
differentiating the subject from the background. Normally
these are small highly directional lights.
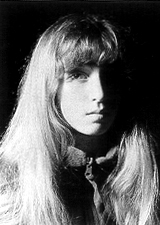
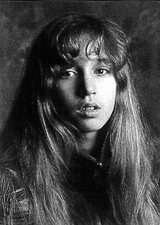
Key light alone
Fill light alone
Effects light alone

Key, fill, and effects
light combined together
Try experimenting with one,
two, or three lights, as well as their placement in relation to your
subject to create a desirable effect.
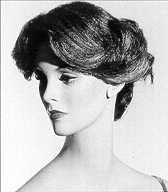
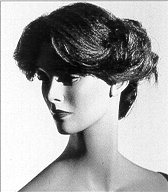
Light three-quarters right
Light full right
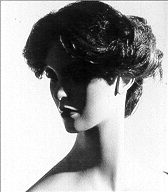
Light three-quarters behind
There are three fundamental guidelines for
using studio lighting:
1. There should be only one set of
shadows, and they should all point in the same direction.
2. Whenever possible, the background
should be far enough from the subject so that it can be lit
separately.
3. Whenever a shadow is unavoidable, it
should be treated as part of the composition.
When shooting portraits:
- Be aware of placing
lights too high or too much to the side or they will create large
shadows around the eye sockets and nose of your subject
- The tip of the nose in
a three-quarter profile should either break the cheek line
decisively, or be well clear of it; if it is level with the
cheek-line, it often looks awkward.
Back to Digital Portrait
|